History of Photography
The Camera Obscura
The first thing I did to make The Camera Obscura was to get all the equipment I needed, a cardboard box, lens, pen, tracing paper, tape, paper and standing knife.
Once I got the equipment ready i made a cardboard box and cut out one side of it, then I covered that side with tracing paper and stuck that down. Then I flipped the box round to the other side and cut out a small hole in the centre. Over the hole I rolled up a piece paper and stuck the lens onto the paper which was slightly away from the small hole. Finally I put the camera on a stand and traced what i saw through the camera.
Once I got the equipment ready i made a cardboard box and cut out one side of it, then I covered that side with tracing paper and stuck that down. Then I flipped the box round to the other side and cut out a small hole in the centre. Over the hole I rolled up a piece paper and stuck the lens onto the paper which was slightly away from the small hole. Finally I put the camera on a stand and traced what i saw through the camera.
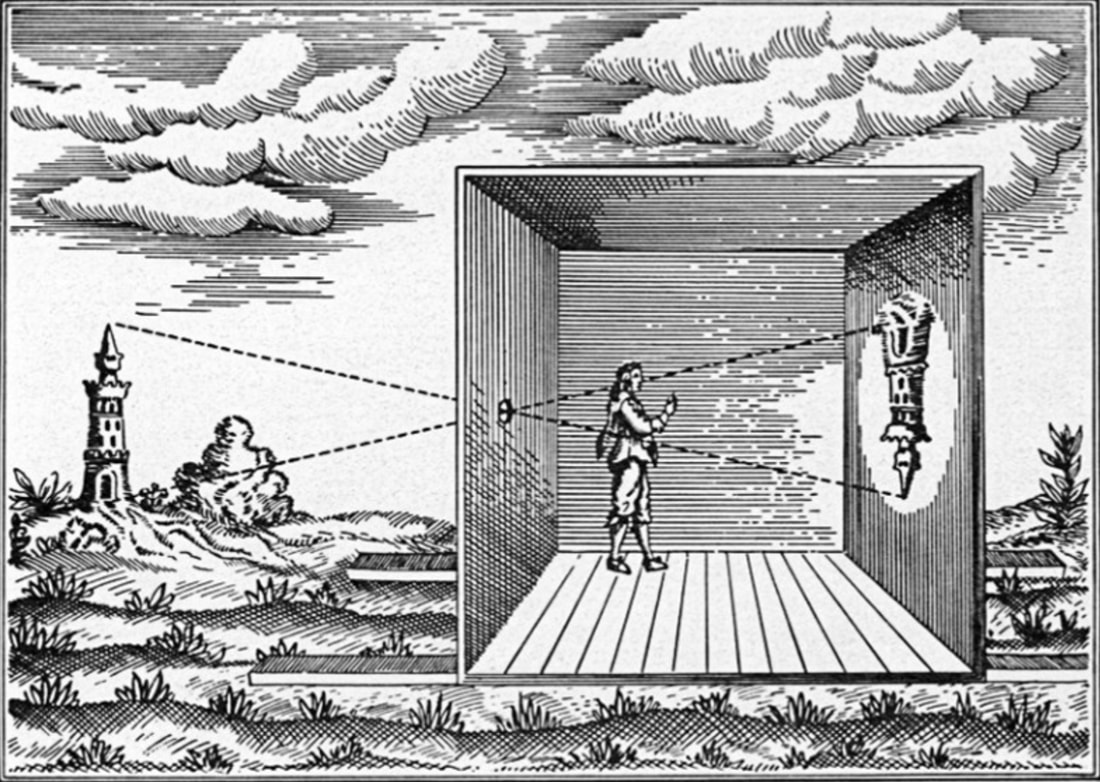


What was difficult about making it? Getting the camera to focus
Explain what focal length is. The distance where the lens is that will make the camera focus.
How did you alter the focal length? I moved the lens back and forth until the camera was focused.
WWW=my ability to draw what you see
Explain what focal length is. The distance where the lens is that will make the camera focus.
How did you alter the focal length? I moved the lens back and forth until the camera was focused.
WWW=my ability to draw what you see
SLR Camera

A DSLR camera works by use of a reflex mirror (or prism) that reflects light into the optical viewfinder, allowing the photographer to capture the image they're seeing in front of them. ... The mirror moves when the shutter is released, opening up a path to the imaging sensor for the light, resulting in your photograph.
Being able to capture great visuals requires a little bit of an introduction to the three most basic camera settings: Aperture, ISO, and Shutter Speed. The combination of these three functions is present in most cameras and is imperative to operating your camera.
Being able to capture great visuals requires a little bit of an introduction to the three most basic camera settings: Aperture, ISO, and Shutter Speed. The combination of these three functions is present in most cameras and is imperative to operating your camera.
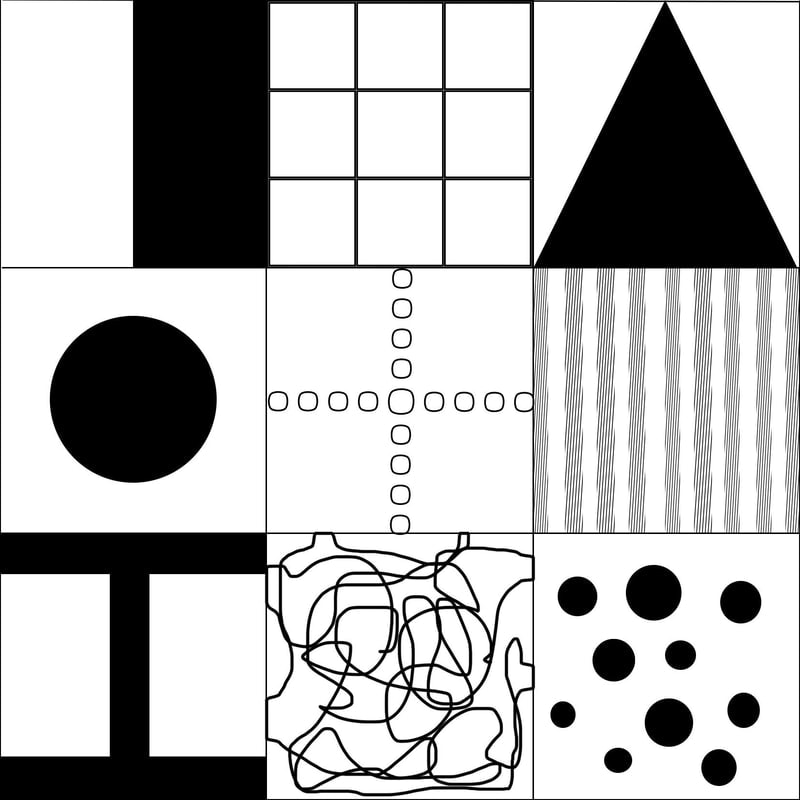
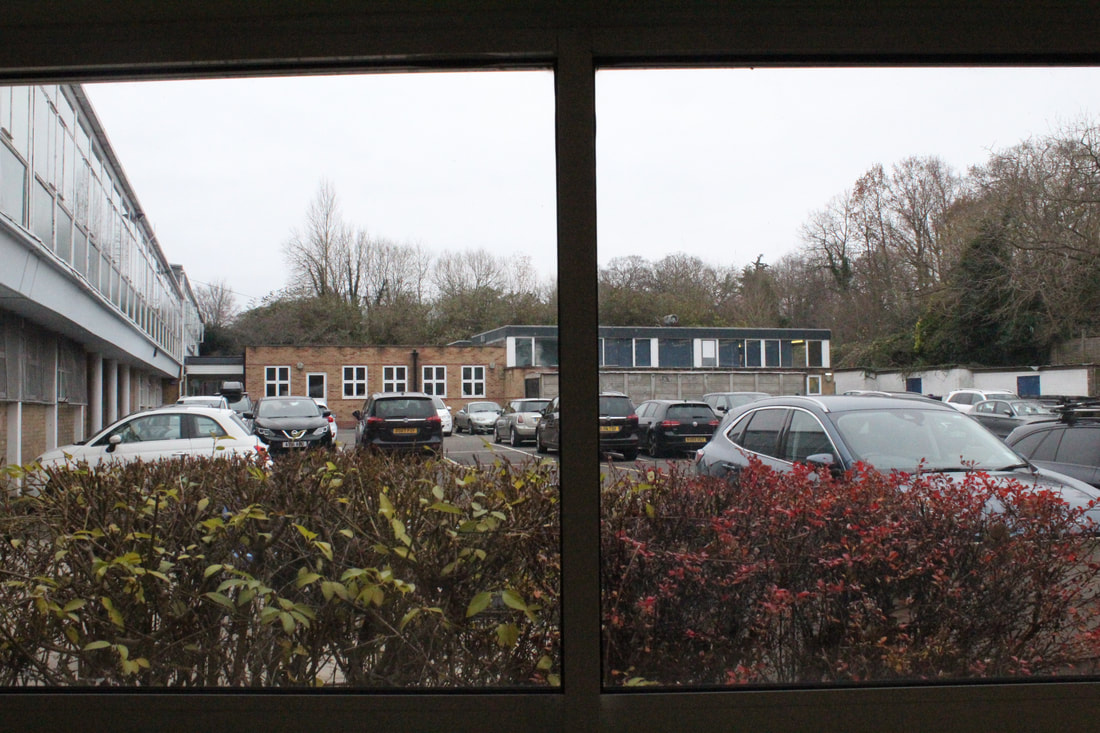
Composition

|

|
|
rule of thirds

|

|


|


|
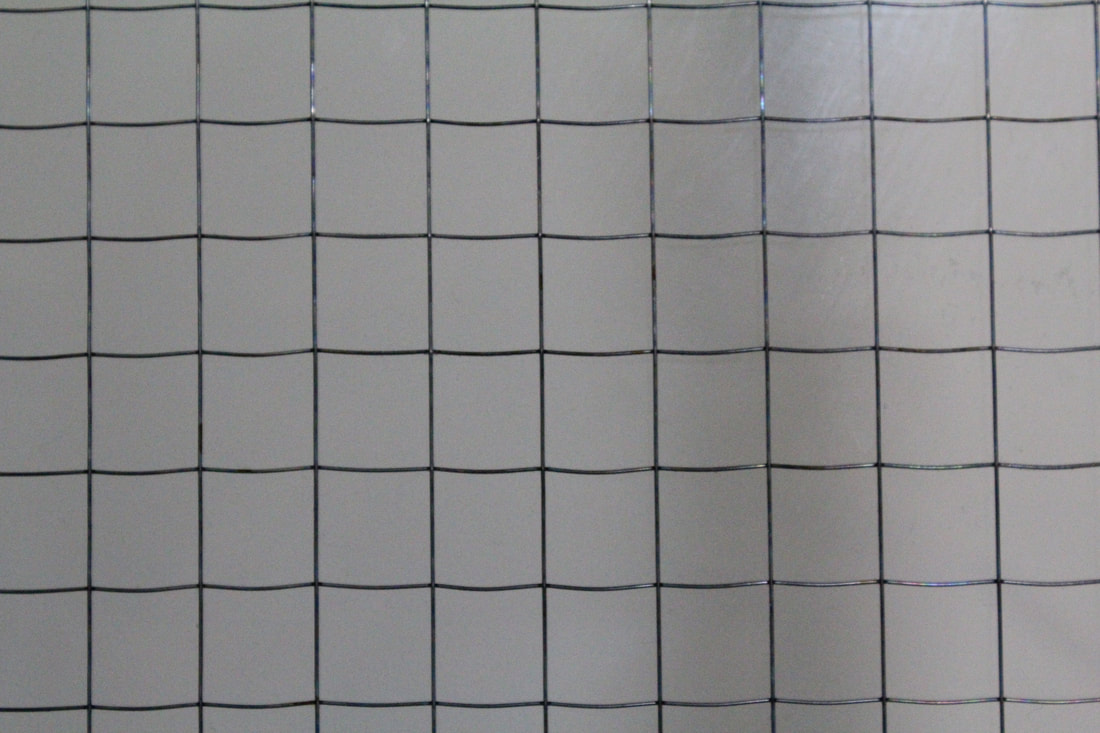
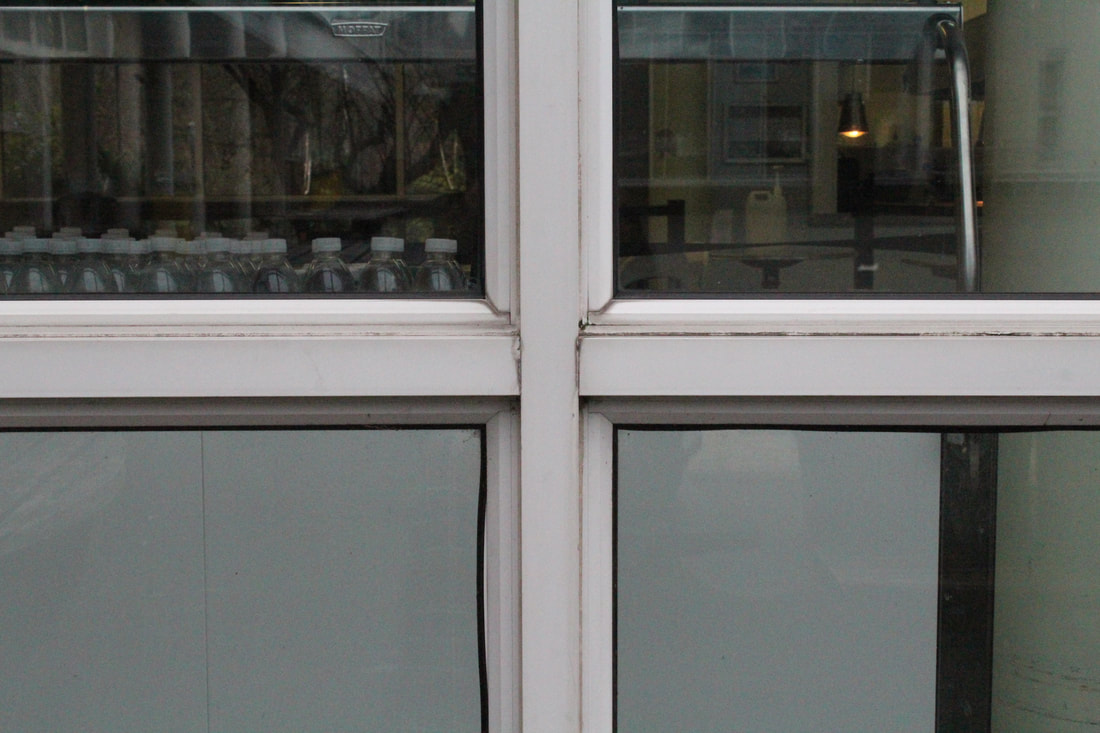
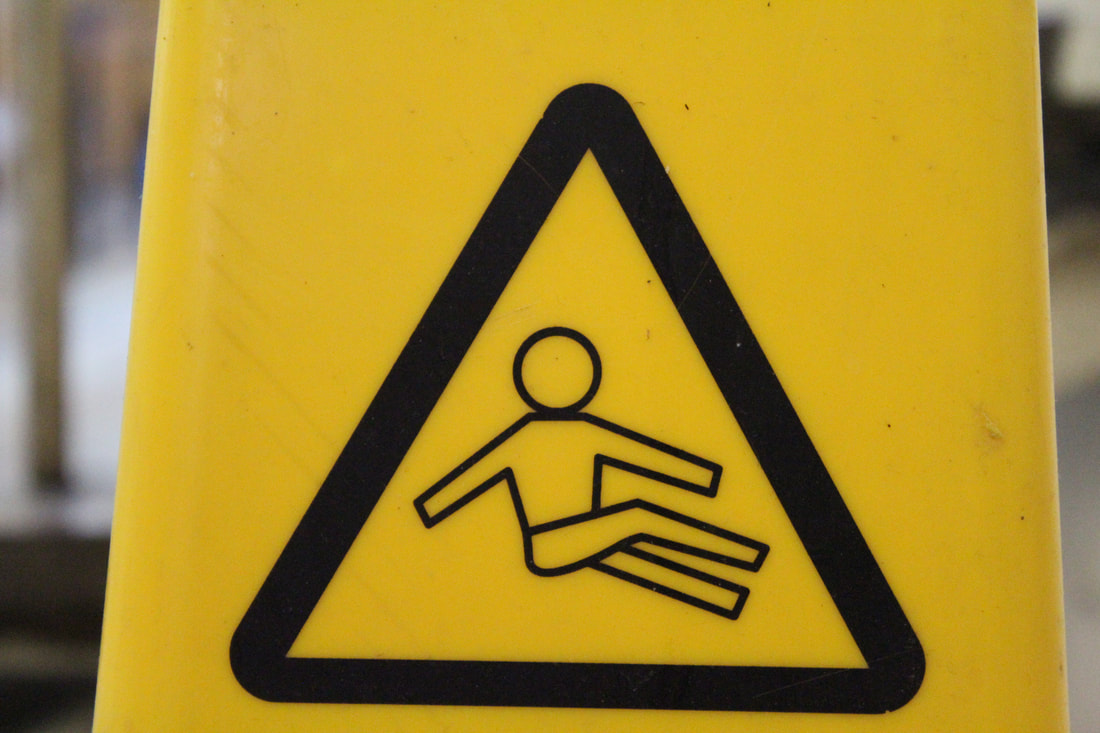
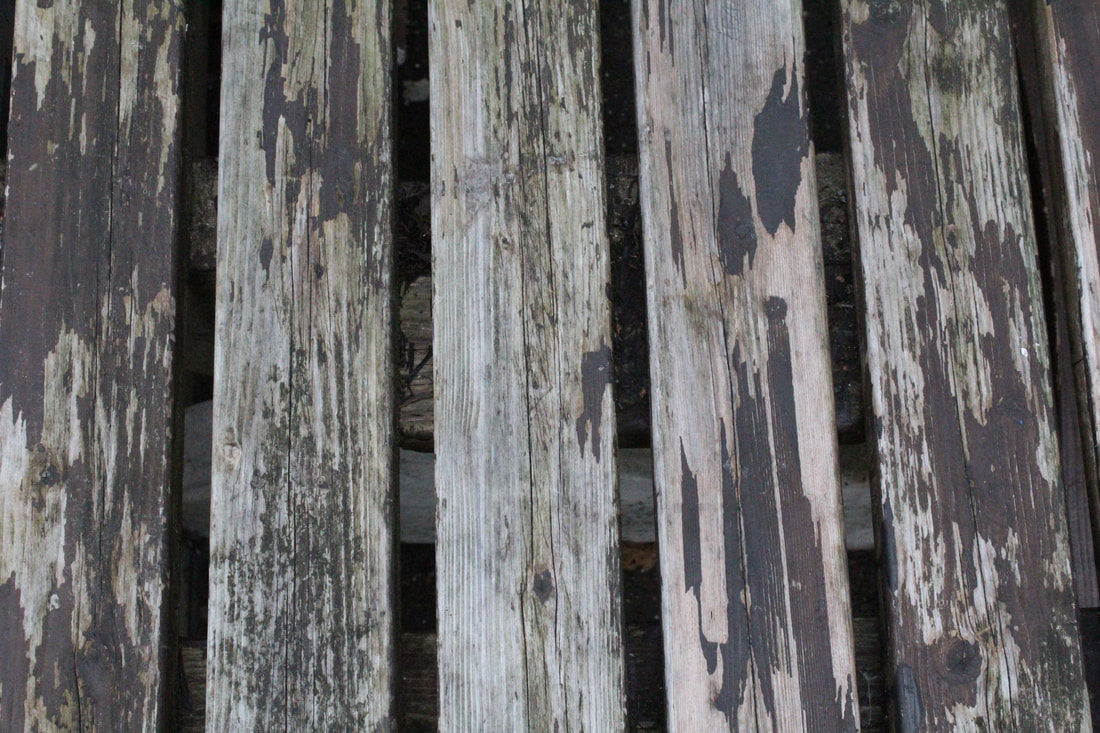
The rule of thirds is a composition guideline that places your subject in the left or right third of an image leaving the other two thirds more open. While there are other forms of composition, the rule of thirds generally leads to compelling and well-composed shots.
Today we had to go out and take our own photos around school using the rule of thirds technique. What I did to get succesful and pleasing to the eye photos was to test out if the subject looked better in the right or left third of the image. Then I used photoshop to place the rule of thirds grid to visualise the end photograph.
What went well: One thing that went well was getting the subject in the correct place between the thirds.
Even better if: If i used a tripod the photos would be straighter and not as tilted.
Shutter Speed
The speed at which the shutter of the camera closes. A fast shutter speed creates a shorter exposure - the amount of light the camera takes in - while a slow shutter speed gives the photographer a longer exposure.
To take the photos I changed the shutter speed on the camera to different fractions of a second, for example one of the shutter speeds I used was 1/500 this gave our photos a sharp look to the photos.
To take the photos I changed the shutter speed on the camera to different fractions of a second, for example one of the shutter speeds I used was 1/500 this gave our photos a sharp look to the photos.
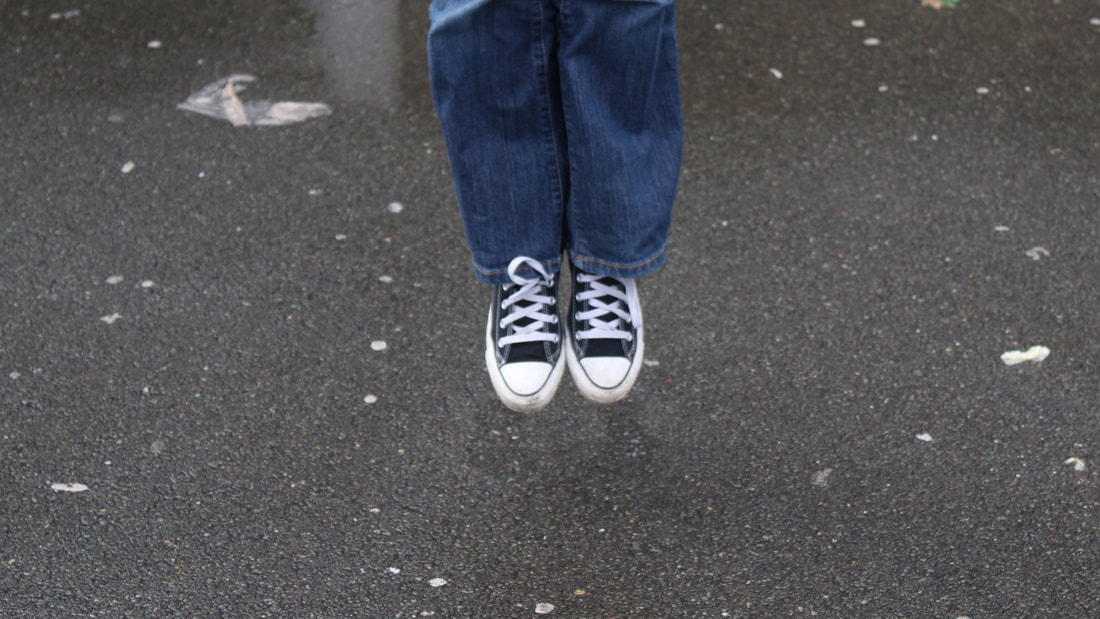
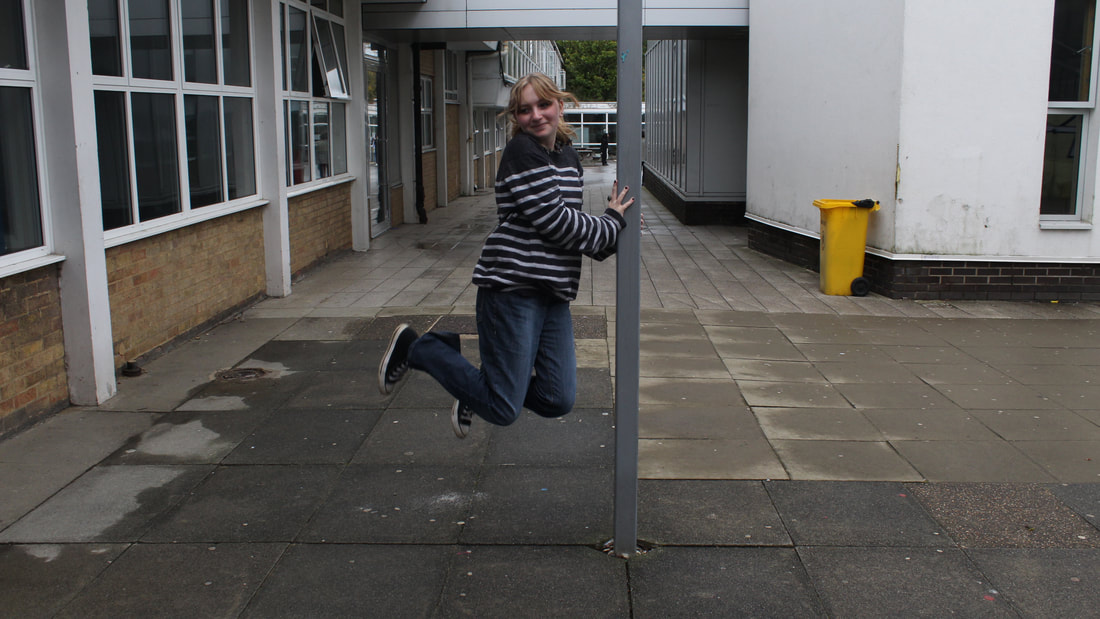
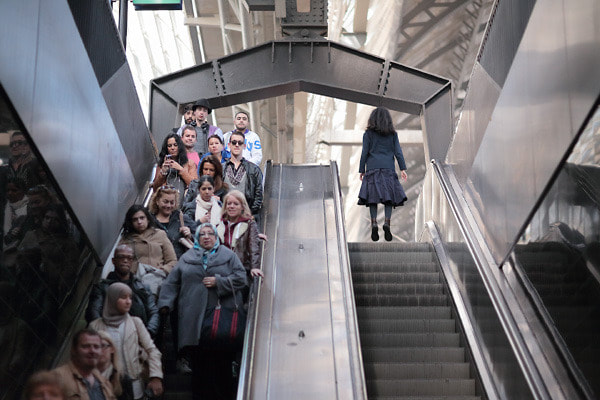
Fast Shutter Speed
My favourite photos
|
|
One thing that went well with my photos is that they didn't turn out blurry this was because I used a fast shutter speed. One thing I could do better is make the photos seem more like the person is levitating.
Secondary Response

|

|

|
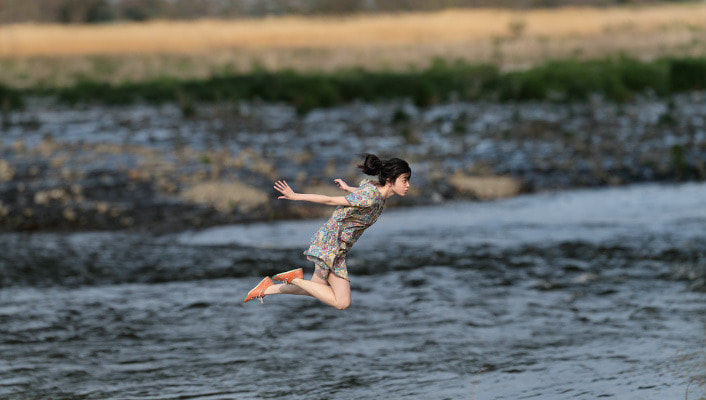
Yowayowa
|
Natsumi Hayashi was born in 1982, she lives in Japan and mainly takes photographs of herself levitating. Yowayowa is a Japanese term meaning "weak" or "feeble" so she says since she is Yowayowa she finds the SLR cameras really heavy to carry round.
To take her photos she will ask someone to press the shutter release button, she will get them to stand in a proper position to get the right composition and focus. Sh jumps over and over again until she gets the right photo. 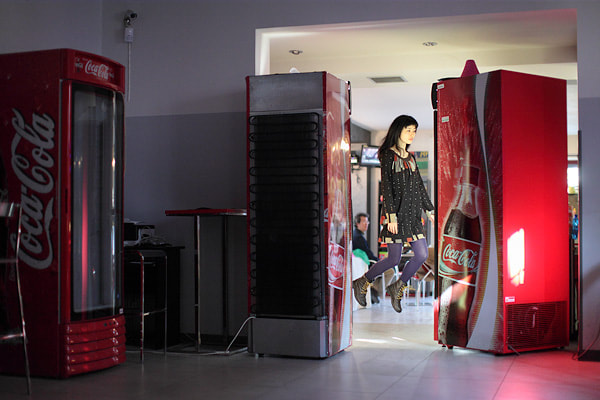
|
|
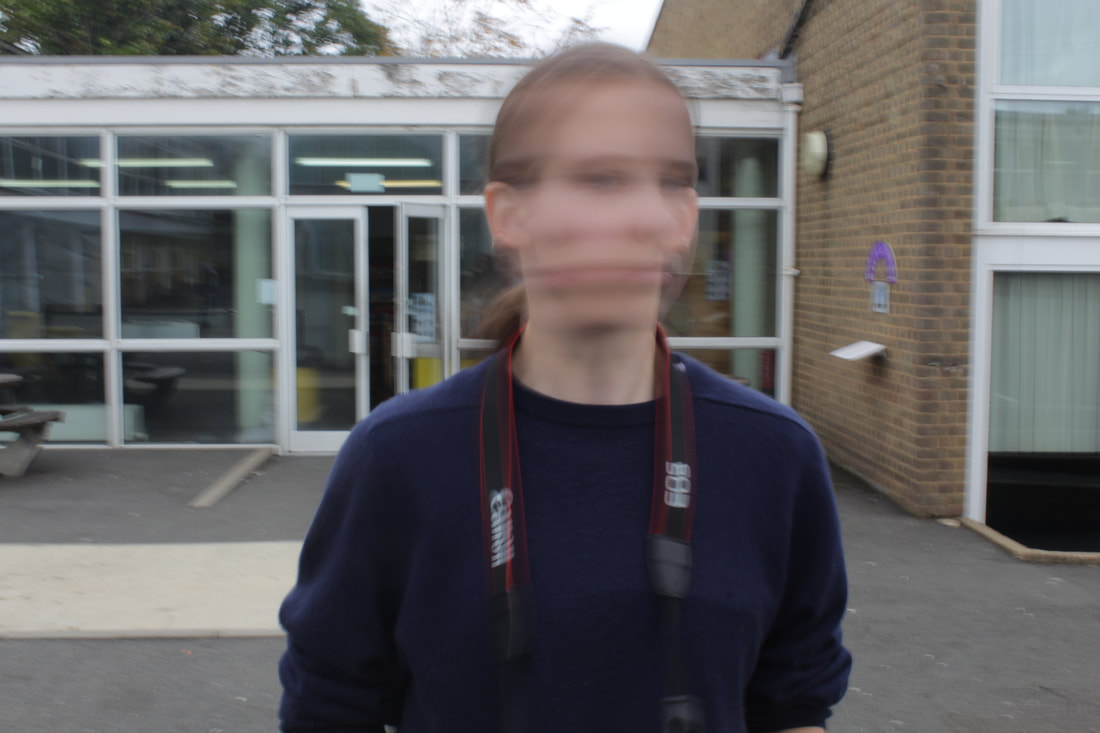
Slow Shutter Speed
My Favourite Photos
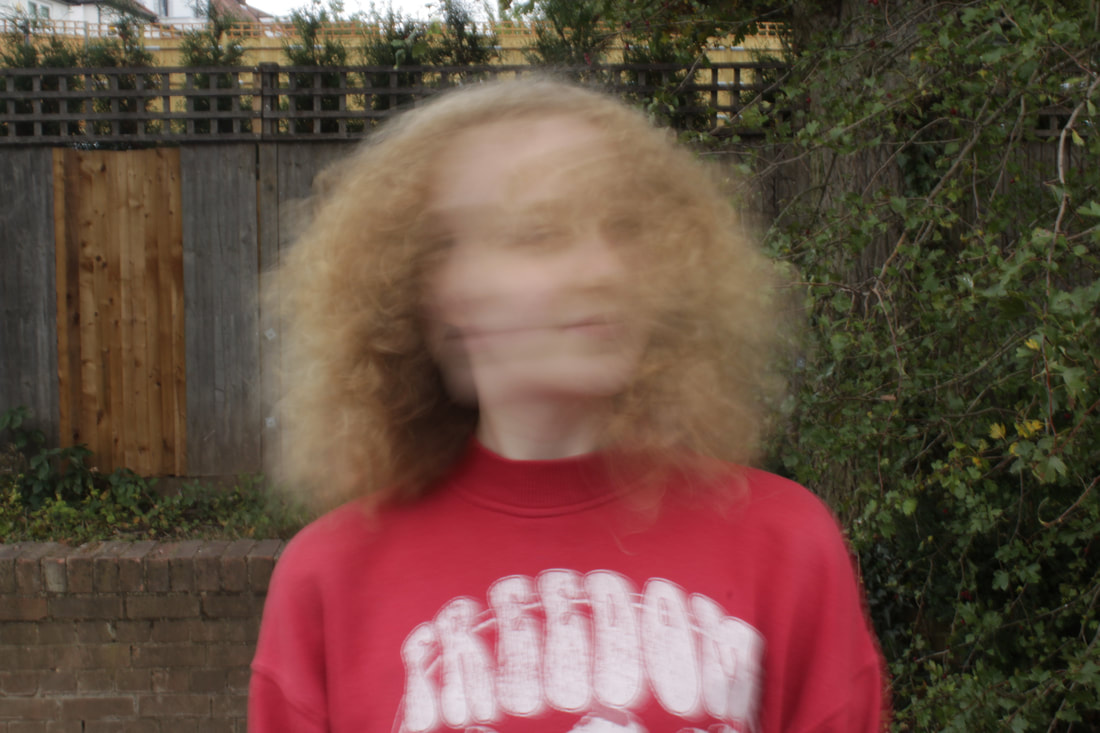
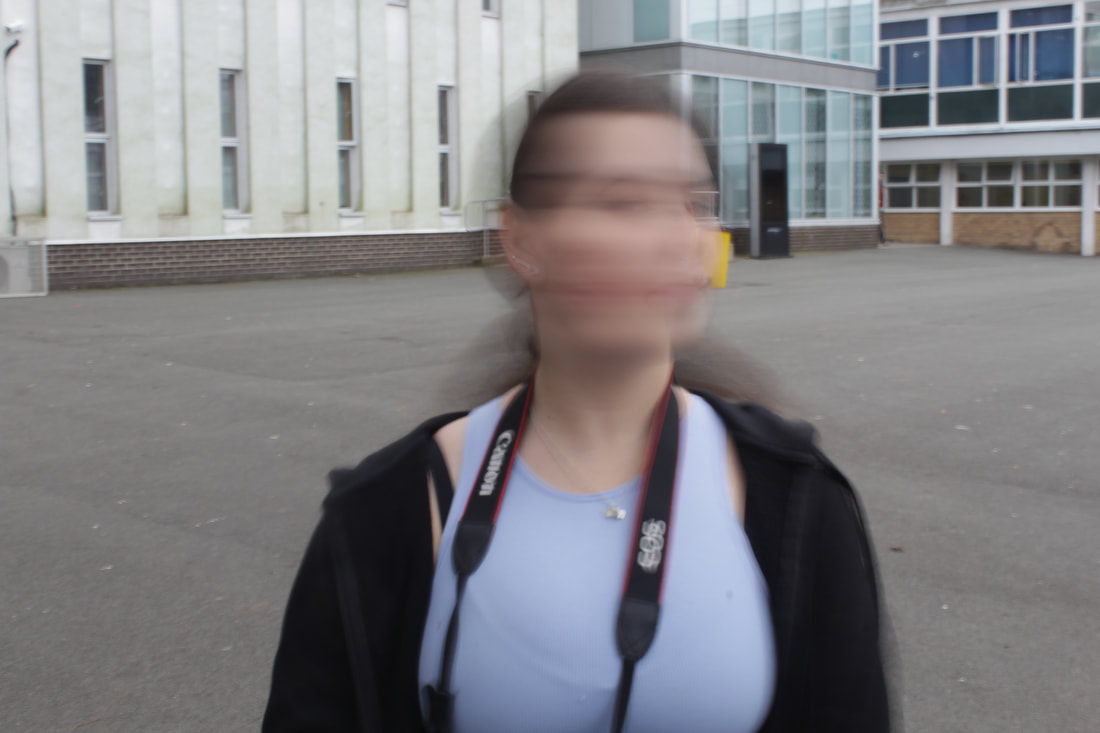
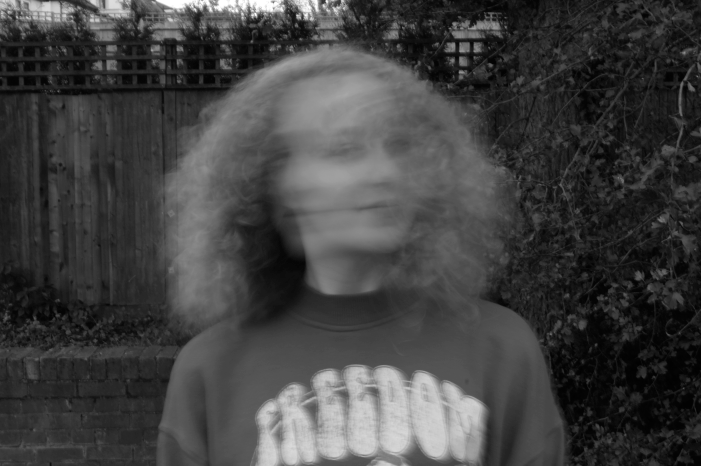
These are some of my favourite photos from my first response to Francesca Woodman's work. The reason I think these are successful is because the background of the photo stayed still so there is a contrast between the landscape and the model. I think what I could do to make my photos more interesting to look at is changing the poses.
What is a slow shutter speed?Slow shutter speed creates a blurred image of the movement. It can help you illuminate a darker scene, as it brings more light through the lens. It works really well if the background is still so it doesn't get blurred.
|
|
Francesca Woodman
Francesca was born in Denver, Colorado and she went to Rhode Island School of Design. Her father was a painter and photographer and her mother was a ceramicist. She is best known for her black and white pictures featuring either herself or female models. She is usually half hidden by objects or furniture or appears as a blur. The images convey an underlying sense of human fragility.
Black and White

|
|

|
method for a black and white
Aperture

Aperture is the amount of light the camera lets in. It is controlled by the lens if the lens has a smaller hole it lets in less light and has a high f number but if the lens has a bigger hole it lets more light in and has a low f number.
Depths of field is how much is in focus in front of and behind the subject that is focused. A low f number gives you a shallower depth of field and a high f number gives you a deeper depth of field.
Depths of field is how much is in focus in front of and behind the subject that is focused. A low f number gives you a shallower depth of field and a high f number gives you a deeper depth of field.
experimenting with aperture
high aperture:
my favourite photos

|
Today we went out and tried taking photos with a high aperture and to do this we set our cameras to a low f stop number therefore it lets a lot of light in and has a shallow depth of field. The reason I like these photos because the background is very blurred and it has a good comparison to how clear the subject is in the photo. To make the photos more succesful I could use a tripod, this would make it a better quality photo ands more still.
In the photo to the left i used the f number 4.5.
|
experimenting with three person aperture:

|
Today we were trying to take successful photos using three person aperture. To do this I set three people in a row but spaced them out to the sides. I set my camera to a low f stop number and focused on the person at the front. This created an effect where the front subject was in focus and the other two subjects were slightly blurred. Something that went well was the two back people are out of focus however it would have been more succesful if i compared this type of photo that had a low f number with a similar photo with a high f number.
|
Photoshop
opening a document


to open a document you go to file and press open then you press on the image you want to photoshop.
resizing a document


to resize an document you press image and then change the width and length depending on if you want it increased or decreased. when you have chosen the measurements press done.
rotate a document
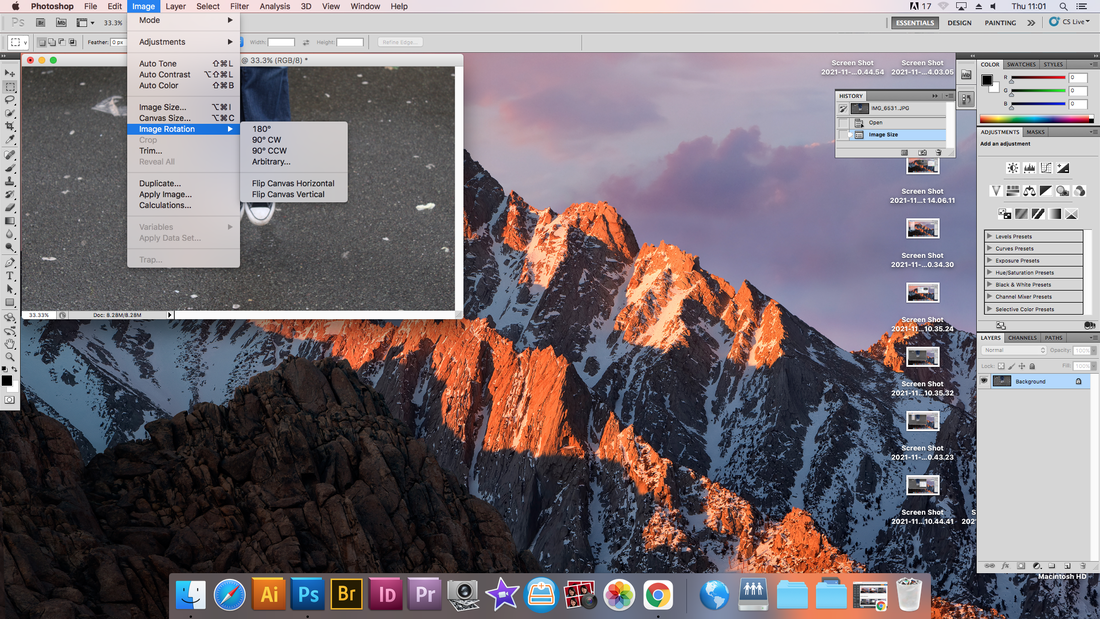
to rotate a document you press image and then image rotation then you can select any of the options and it will turn your photo.
change to black and white


to change your picture to black and white using mode you press image and then mode and click greyscale which makes it black and white.
what is history
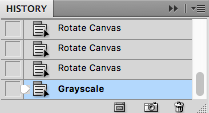
it shows all your previous edits so you can go back to your original photo or fix any of your previous mistakes.
Andy Warhol Style Portraits
My finished photo:

the steps I did

I first resized the image
|

Then I change the brightness and contrast.
|
Then press filter, filter gallery and then cutout. After you change the number of layers, edge simplicity and edge fidelity to your personal preference for your photo
|

Then finally go to image, adjustments, gradient map and then select the colour and the tones of each colour on your photo.
|
Layers

|

|
To make this photo you first drag the background into the layered paper icon. After that you click on the bottom layer and make it black and white.Then you click the eraser tool and select the brush size, then rub out on the top layer the lightbulb. Finally you save the image as a JPEG and upload it onto your computer.
Layered portraits

The photos i used from the internet to test layering a portrait with instructions.
|

Using my own photo to layer a portrait
|
The photos went well because they were successfully placed on the backgrounds however one thing that i could do better is delete all of the accidental white bits still left on the photo around the subjects head.
Creating a GiF

|

|
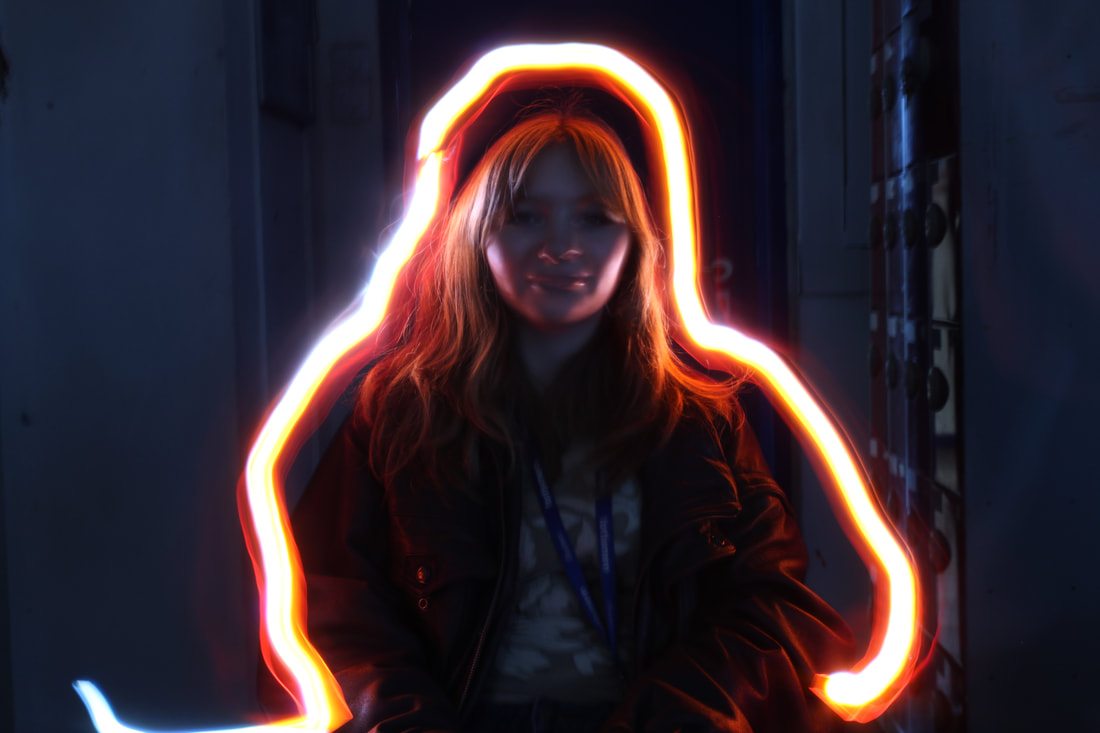
Light painting
|
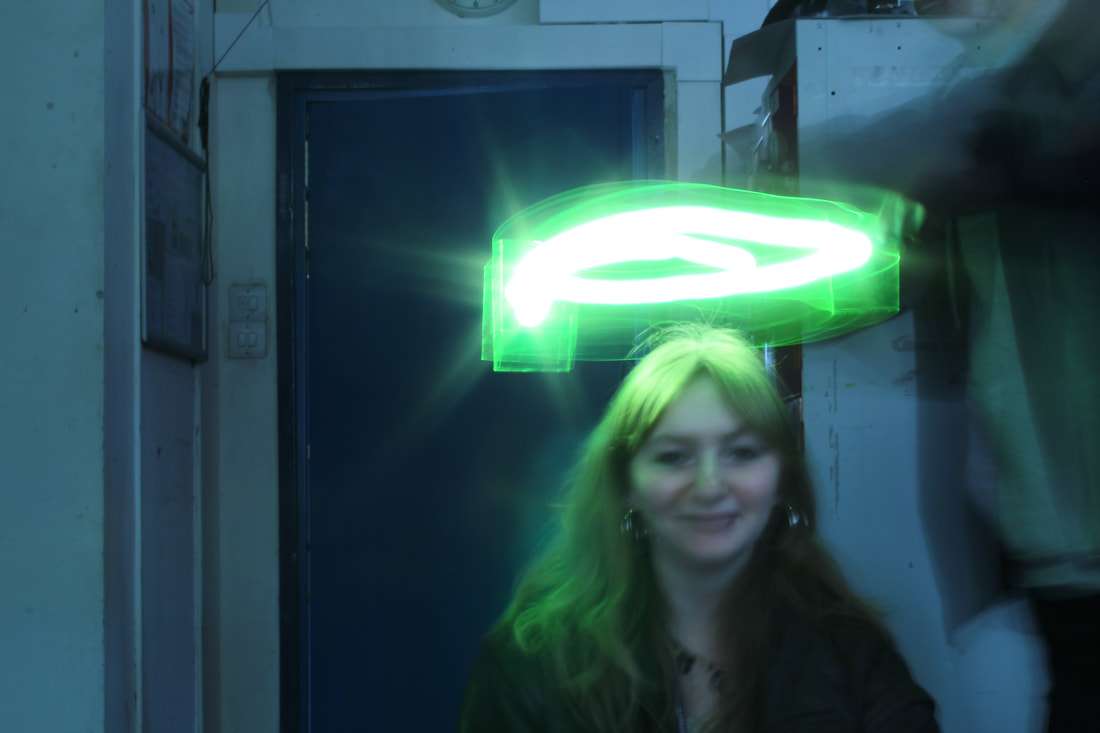
Today we took light paintings, we set up a tripod and camera in a dark setting. Then Edie sat in the chair and moved the torch around her and adjusted the colours of it with coloured glass.
The camera was set to
Light painting - is the photographic technique of using a moving light source—such as a flashlight, glow stick, light brush, or even a smartphone, to alter an image while taking a long exposure photograph. |
photoshop

|
The photo on the left has been edited to make the light stand out more and the background darken. So in this example the red outline stands out much more than in the previous photo I took. Also the background is a lot more dark in the photoshopped photo than in the original photo.
|

|

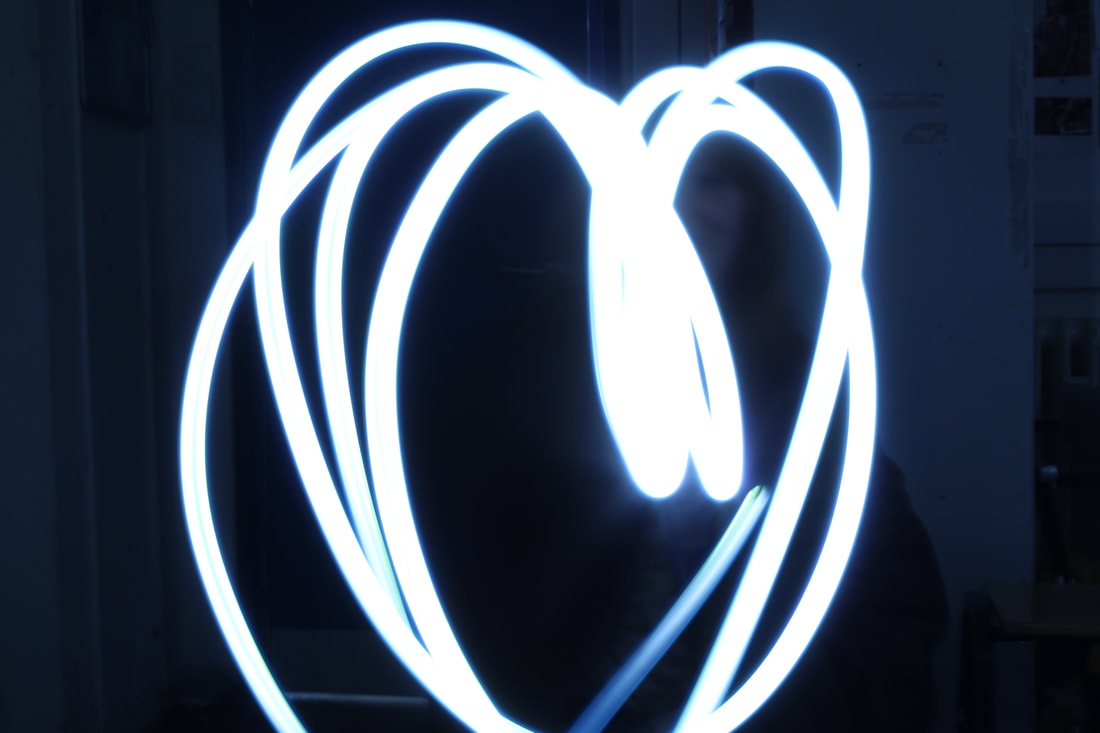
|
The photo on the left has been edited to make the light stand out more and the background darken. So in this example the white heart stands out much more than in the previous photo I took. Also the background is a lot more dark in the photoshopped photo than in the original photo.
|

|

|
The photo on the left has been edited to make the light stand out more and the background darken. So in this example the green halo stand out much more than in the previous photo I took. Also the background is a lot more dark in the photoshopped photo than in the original photo.
|

|
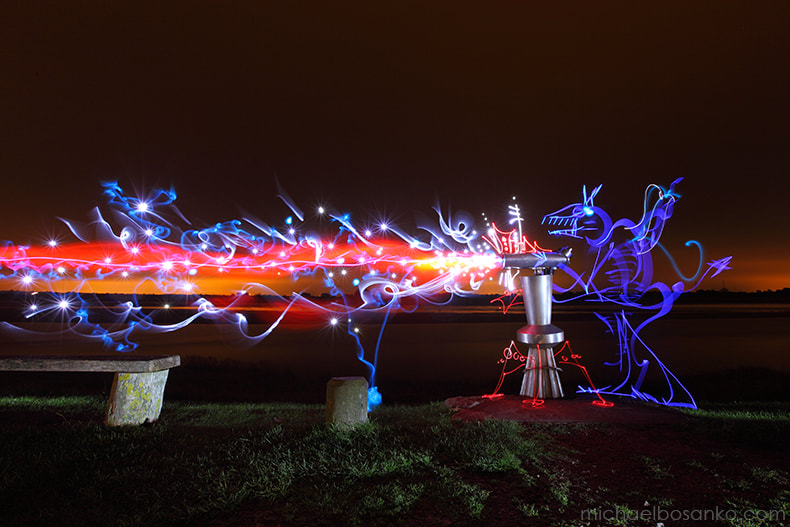
Artist: Michael Bossanko
Micheal Bossanko was born in Wales and is a light painting photographer, he has been taking light photos since 2004. He transforms landscapes using coloureds torches like a paintbrush to create images. He then snaps the moving lights with a long-exposure camera and covers the lens with coloured acetate to produce different shades.

|

|
|
light painting gifs
|

|
|
I think is successfully created light painting gifs i used the website gif maker me to make them. I think i could have make them slightly more precise.
Conclusion of Tool Kit
In toolkit it helped me understand the basics of working the DSLR camera. We used different camera settings such as ISO, shutter speed and aperture. This meant we could specifically looks at each individual setting, so I was able to create succesful photos. We also used photoshop to manipulate our pictures by changing image size and rotation, levels, we also created layers and made Andy Warhole styled pictures. We also often went out to take photos top get a better understanding of composition by using rule of thirds. Next term i will carry over these techniques to improve my photographs so they look more professional.
